SendGrid
Step 1: Enter the Sender Email Address
To configure the Sendgrid email service type, perform the below steps.
-20250812-210417.png?inst-v=a692bc81-ccf3-41f9-8111-9595c4b8338b)
Sendgrid
Enter the Sender Email address. This email will be used for all communication such as alerts & notifications.
Note: The email address does not need to be active or real. This address acts as a placeholder and will appear as the sender in the recipient's inbox. We use it to extract your domain (e.g., yourcompany.com) to generate the necessary DNS records. After successful setup and activation - all emails will be sent from this email address.
In the Sender Authentication Service field, select Sendgrid option from the dropdown menu.
Please follow the below steps to authenticate the domain and start sending emails through the system powered by SendGrid.
Step 2: Copy the DNS Records
Select the Click to Request DNS Values from Sendgrid button to pull the CNAME DNS records.
-20250812-210300.png?inst-v=a692bc81-ccf3-41f9-8111-9595c4b8338b)
Getting DNS Values from Sendgrid
After submitting your email, you will see the required CNAME DNS records displayed on the screen.
Example Records:
Type | Hostname | Value |
CNAME | em123.yourcompany.com | |
CNAME | s1._domainkey.yourcompany.com | |
CNAME | s2._domainkey.yourcompany.com |
-20250812-210608.png?inst-v=a692bc81-ccf3-41f9-8111-9595c4b8338b)
CNAME DNS records
Step 3: Add Records to Your DNS Provider
Login to your DNS provider (e.g., Cloudflare, GoDaddy, AWS Route 53).
Add all CNAME records exactly as shown.
Save the changes.
Note: DNS propagation can take 24–48 hours to reflect globally.
How to Add DNS Records on Cloud Providers
After generating DNS records on Kognitive Cloud, follow these steps to add them to your domain's DNS.
1. Cloudflare
Login to Cloudflare Dashboard.
Select your domain.
Go to the DNS section from the sidebar.
Click Add record.
For each record:
Type: Select CNAME.
Name: Enter the record name (e.g., em123 or s1._domainkey).
Target: Enter the value provided (e.g., u123456.wl.sendgrid.net).
Proxy status: Set to DNS only (disable Cloudflare proxy ).
Click Save.
Repeat for all CNAME records.
2. GoDaddy
Login to GoDaddy.
Go to My Products → Click DNS for your domain.
Scroll to DNS Records and click Add.
For each record:
Type: Select CNAME.
Host: Enter the record name (e.g., em123 or s1._domainkey).
Points to: Enter the value provided.
TTL: Leave as default or set to 1 hour.
Click Save.
Repeat for all CNAME records.
3. AWS Route 53
Login to AWS Console.
Navigate to Route 53 → Hosted Zones.
Select your domain.
Click Create record.
For each record:
Record name: Enter the name (e.g., em123 or s1._domainkey).
Record type: Select CNAME.
Value: Enter the target provided (e.g., u123456.wl.sendgrid.net).
Click Create records.
Repeat for all CNAME records.
Step 4: Verify DNS on Our Website
After adding the DNS records:
Return to our Email Setup page.
Click the “Verify DNS Settings” button.
-20250812-211417.png?inst-v=a692bc81-ccf3-41f9-8111-9595c4b8338b)
Verify DNS Settings
Our system will check the DNS records with SendGrid.
Once all records are correct:
You will see all DNS records marked as Verified.
Important Notes:
DNS changes can take up to 24–48 hours to propagate globally.
In Cloudflare, always disable the orange cloud (proxy) for these records - they must resolve directly to SendGrid.
Copy the records exactly as shown, without adding or removing dots/spaces.
Step 5: Test Your Email Setup
After successful verification:
You will see the “Test Email” option.
-20250812-211620.png?inst-v=a692bc81-ccf3-41f9-8111-9595c4b8338b)
Test Email
Enter any valid recipient email address.
Click Send button.
You will receive a test email to confirm that your domain setup is working.
If you’re not receiving the test email, please contact our support team.
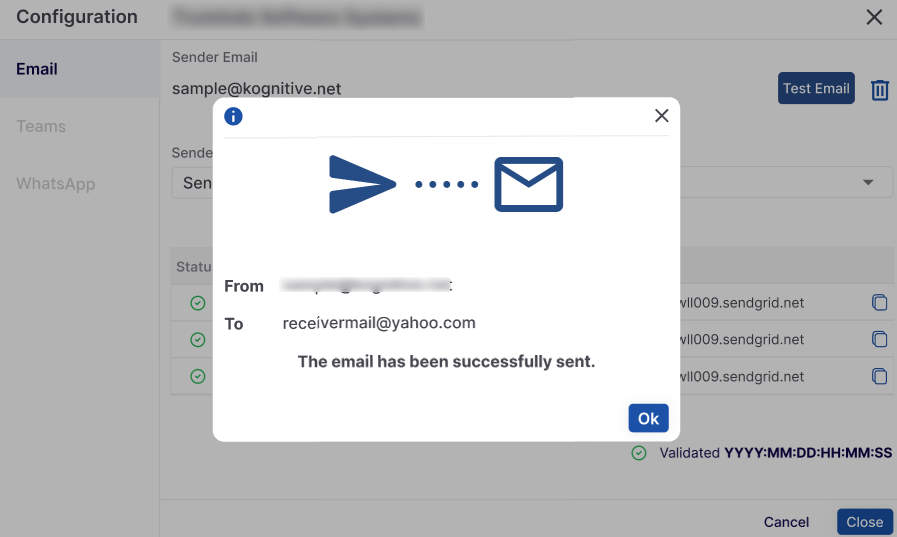
Email successfully sent
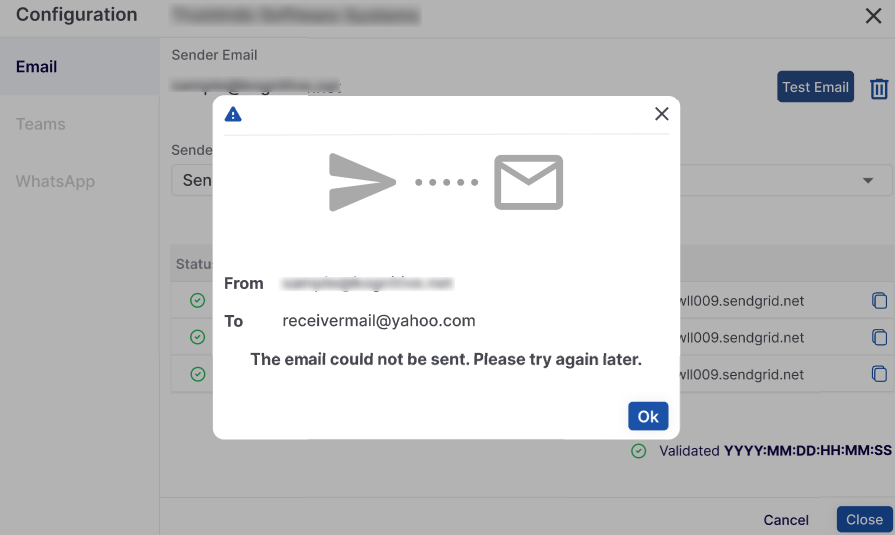
Email could not be sent
Step 6: Activate Email Sending (to be performed if you received a test email in step 5)
Once your DNS records are verified and you're satisfied with the test:
Click the “Activate” button on our Kognitive Cloud page.
After activation, all emails sent through our system will use the Sender Email ID you entered earlier.
Setup Completed. After activation:
Your domain is authenticated.
Your emails will be sent using your domain.