Microsoft Graph API
Step 1: Enter the Sender Email Address
To configure the Microsoft Graph API email service type, perform the below steps.
-20250812-212729.png?inst-v=a692bc81-ccf3-41f9-8111-9595c4b8338b)
Microsoft Graph API
Enter the Sender Email address. This email will be used for all communication such as alerts & notifications. This must be a real, valid email address.
In the Sender Authentication Service field, select Microsoft Graph API option from the dropdown menu.
The following is a step-by-step guide to register an Azure AD application with the necessary permissions to send emails via Microsoft Graph API.
Step 2: Register a New Application
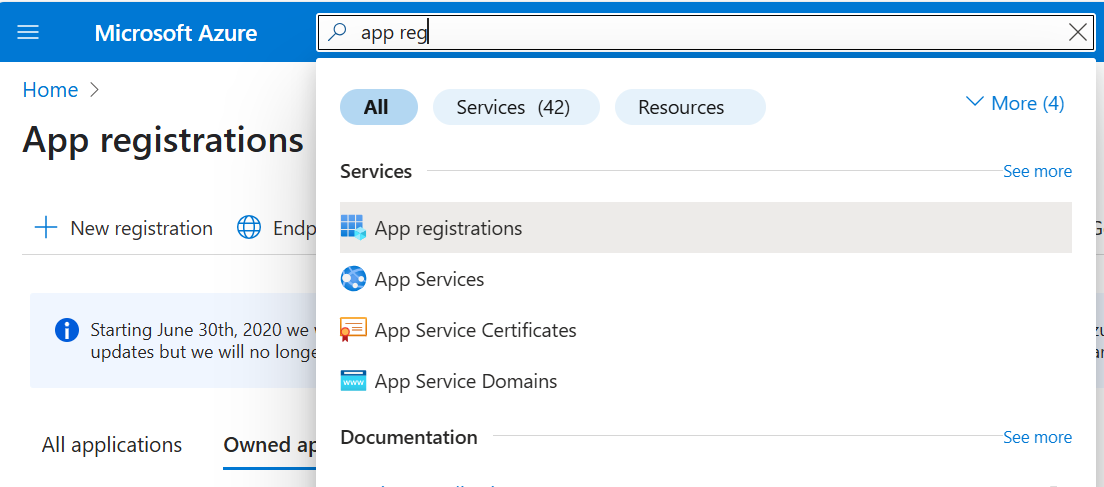
Navigate to the Azure Portal and sign in with your credentials.
Search for App registrations.
Select + New registration.
App Registrations
In the Register an application form:
Name: Enter a meaningful name, e.g.,
EmailAppSupported account types: Choose based on your organization's needs:
Accounts in this organizational directory only (Single tenant)
Accounts in any organizational directory (Multitenant)
Redirect URI (optional): Leave this blank
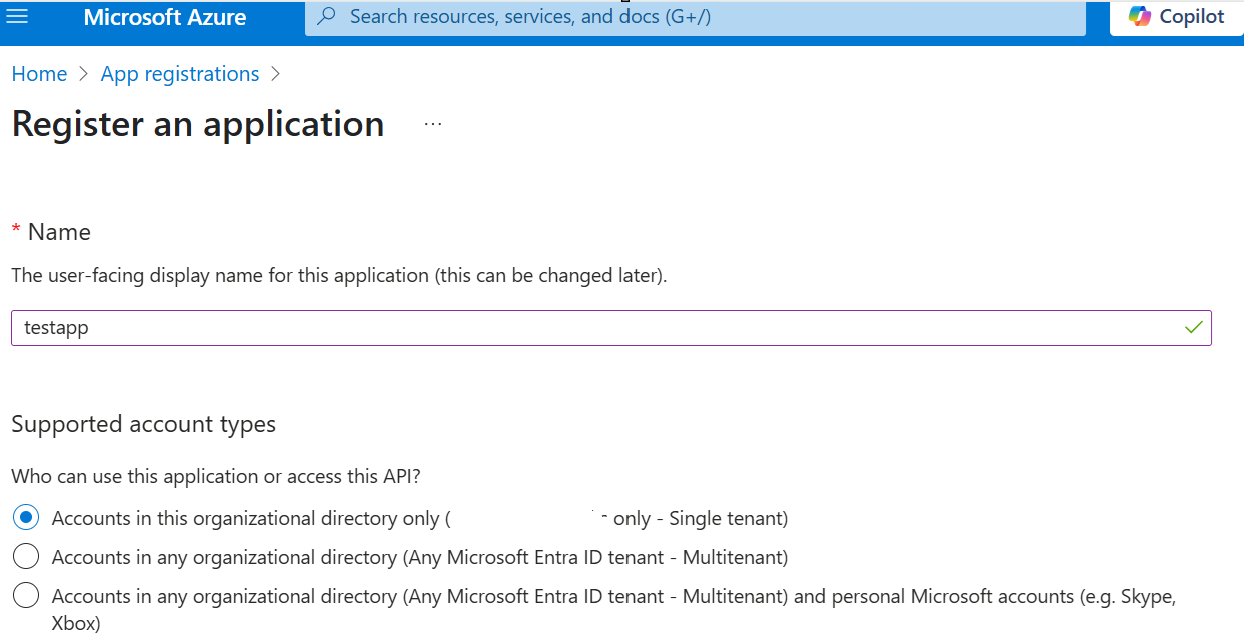
Register an application
Click Register to create the application.
Step 3: Copy Tenant ID and Client ID
After registration, you'll be taken to the app's Overview page.
Copy:
Application (client) ID – this is the Client ID
Directory (tenant) ID – this is the Tenant ID
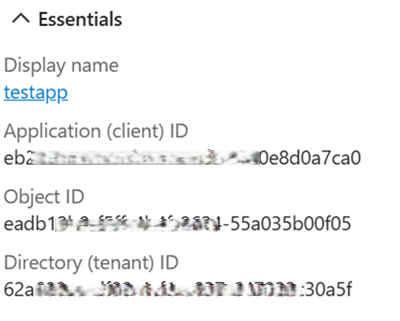
Tenant ID & Client ID
This is the Tenant ID & Client ID to be entered in the Configuration dialog box in Kognitive Cloud.
Step 4: Add API Permissions
In your application's overview page, select Manage-> API permissions from the left-hand menu.
Click on + Add a permission.
In the Request API permissions pane:
Select Microsoft Graph.
Choose Application permissions.
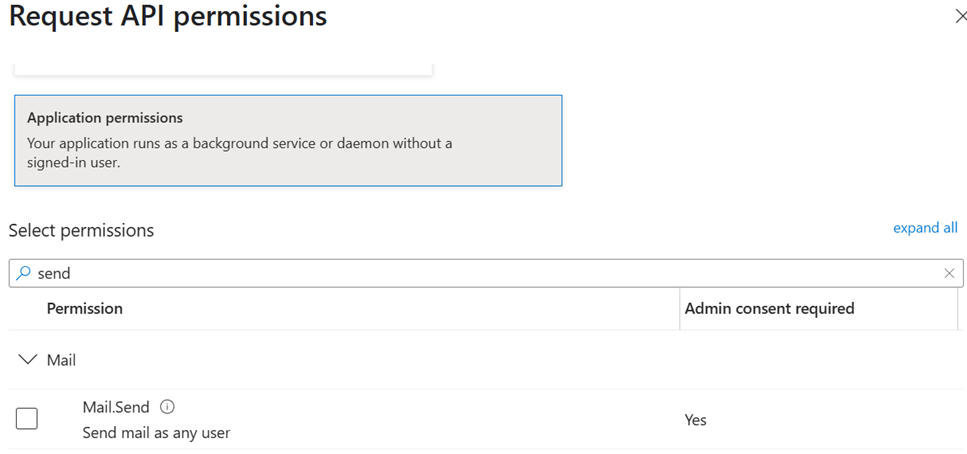
Request API permissions
In the permissions list, search for
Mail.SendSelect the checkbox for Mail.Send
Click Add permissions.
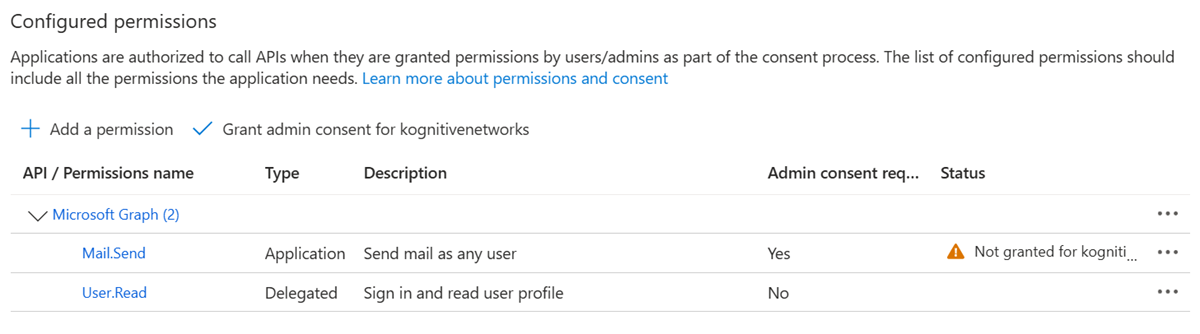
Configured permissions
Back in the API permissions page, click on Grant admin consent for [Your Organization] to grant the permissions. If grant admin consent is not enabled, please contact your super admin
Status should be green

API permissions
Step 5: Create a Client Secret
In your application's page, select Certificates & secrets from the left-hand menu.
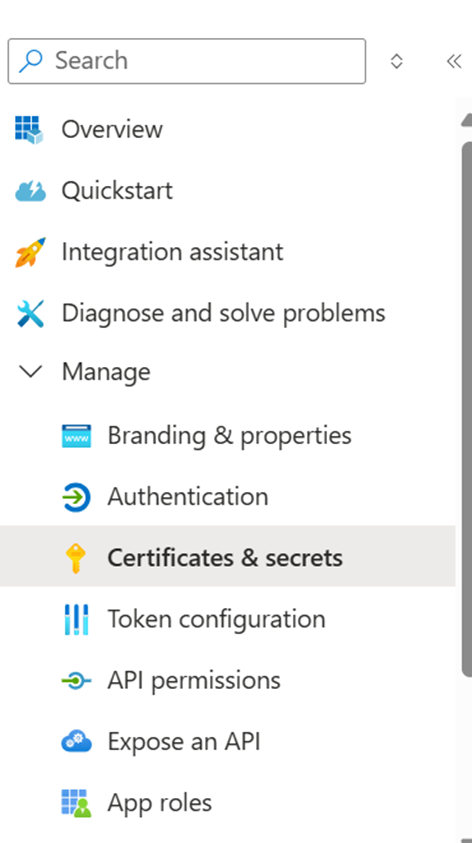
Certificates & secrets
Under the Client secrets section, click on + New client secret
In the Add a client secret pane:
Description: Enter a description, e.g.,
GraphEmailSecret.Expires: Choose an expiration period (choose longer period in years).
Click Add.
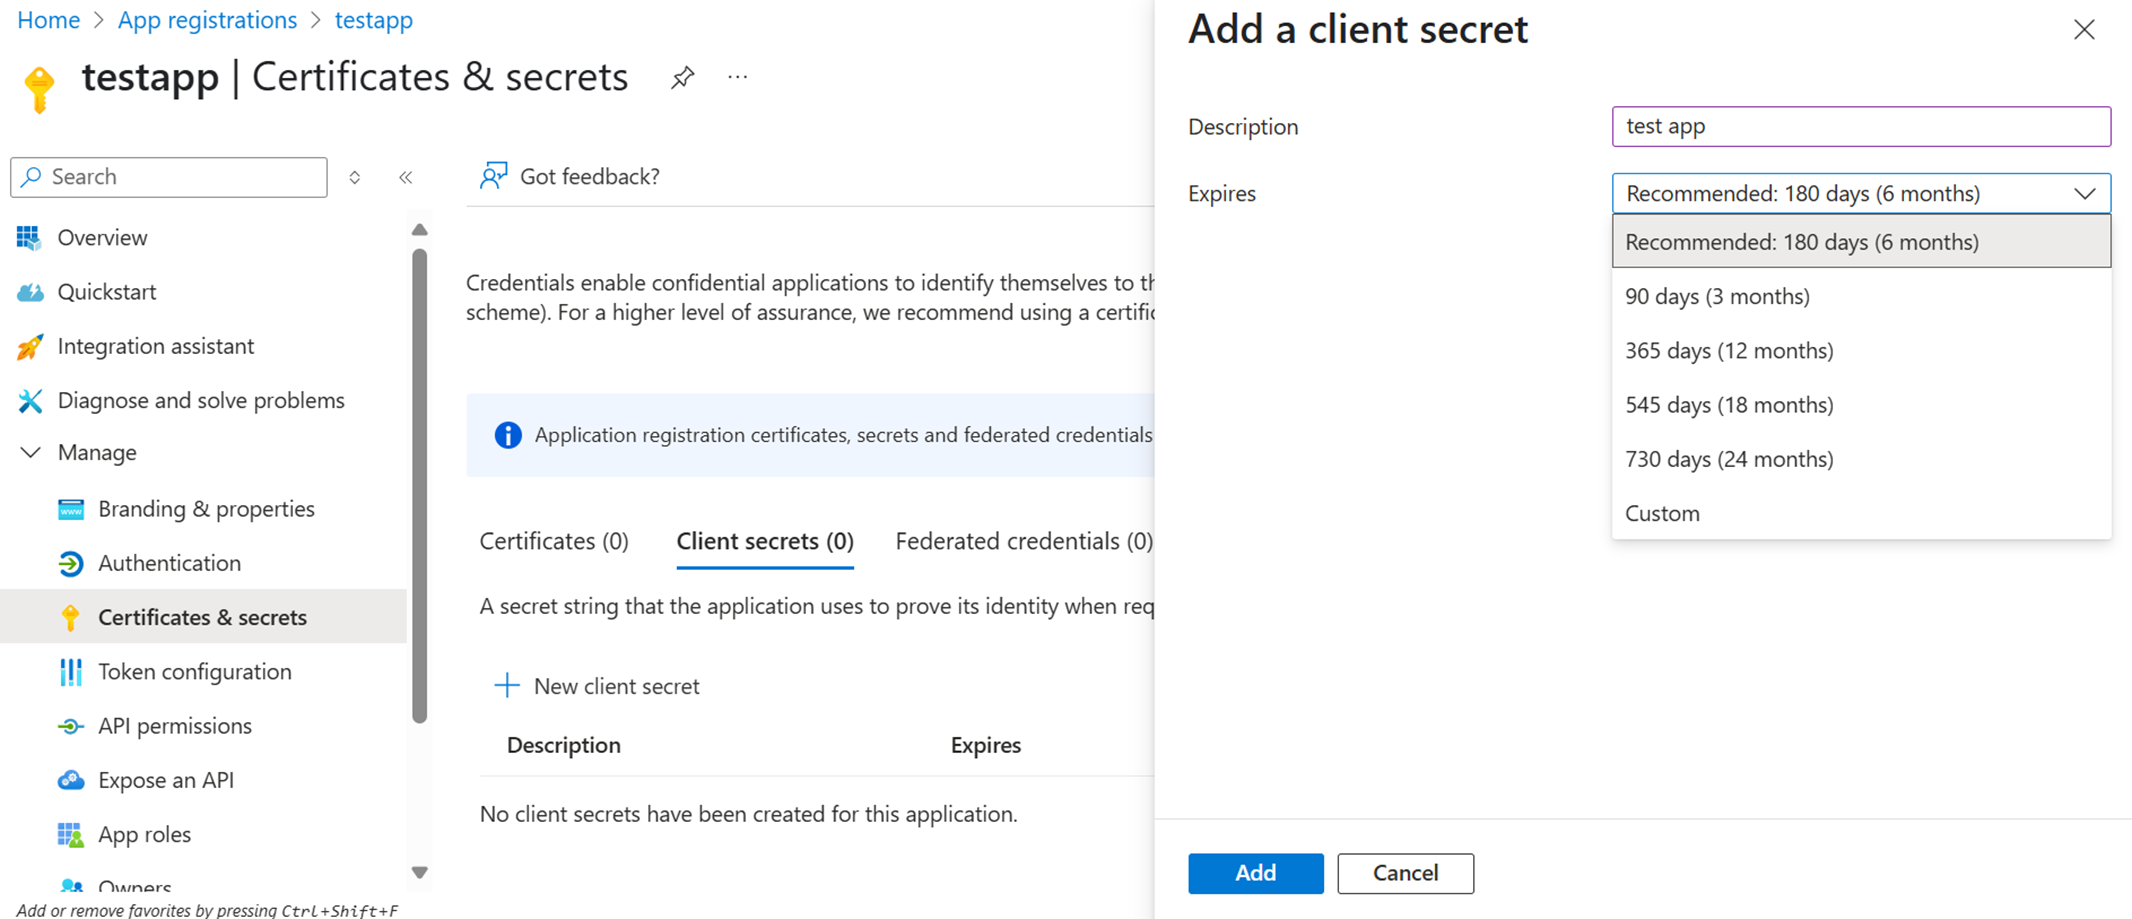
Add a client secret
After the secret is created, copy the value immediately (Client Secret). You won't be able to retrieve it again after you leave this page.
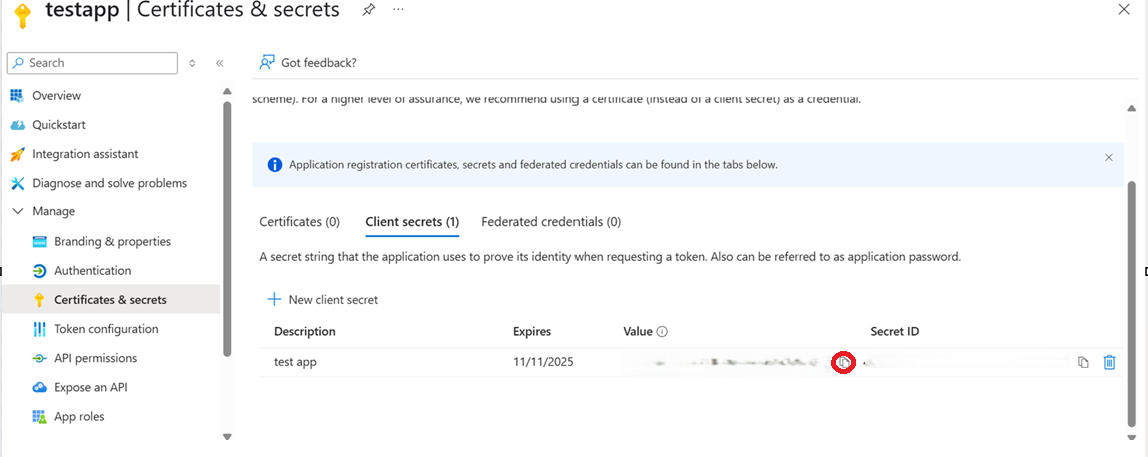
Client Secret
Now the user has the Tenant ID, Client ID & Client Secret to be entered in the Configuration dialog box in Kognitive Cloud.
Tenant ID, Client ID & Client Secret
Click the Save button to save the configuration.
Step 6: Test Your Email Setup
After successful verification:
You will see the “Test Email” option.
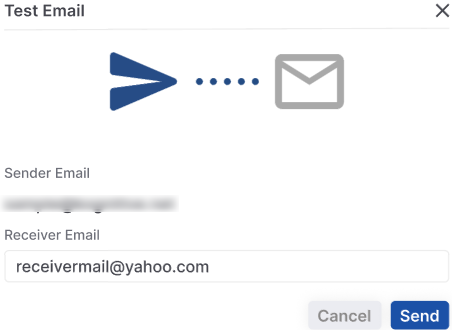
Test Email
Enter any valid recipient email address.
Click Send button.
You will receive a test email to confirm that your domain setup is working.
If you’re not receiving the test email, please contact our support team.
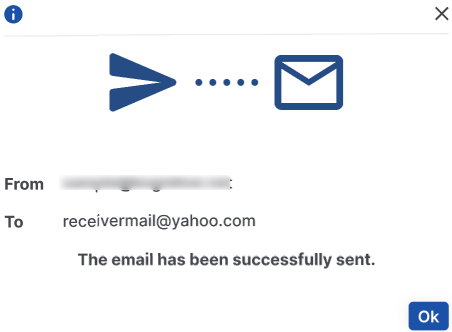
Email successfully sent
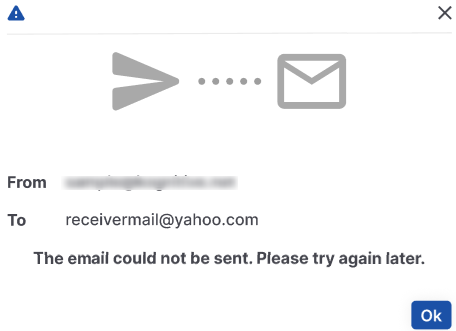
Email could not be sent
Step 7: Activate Email Sending (to be performed if you received a test email in step 6)
Once you're satisfied with the test:
Click the “Activate” button on the Kognitive Cloud page.
After activation, all emails sent through our system will use the Sender Email ID you entered earlier.
Setup Completed. After activation:
Your domain is authenticated.
Your emails will be sent using your domain.